BIRLA CARBON BLOG
INSIDER KNOWLEDGE FOR ALL THINGS CARBON BLACK
Instrumental Measurement of Deep Black Coatings
03 / 01 / 2021 by Dr. Richard Abbott

Reading Time: 2.25 minutes
The color of an object is perceived when light from a source interacts with that object, and the light then is seen or detected by an observer. A black object, simply put, absorbs almost all the light that comes from the light source. Getting accurate and precise measurements of very black objects is not straight forward.
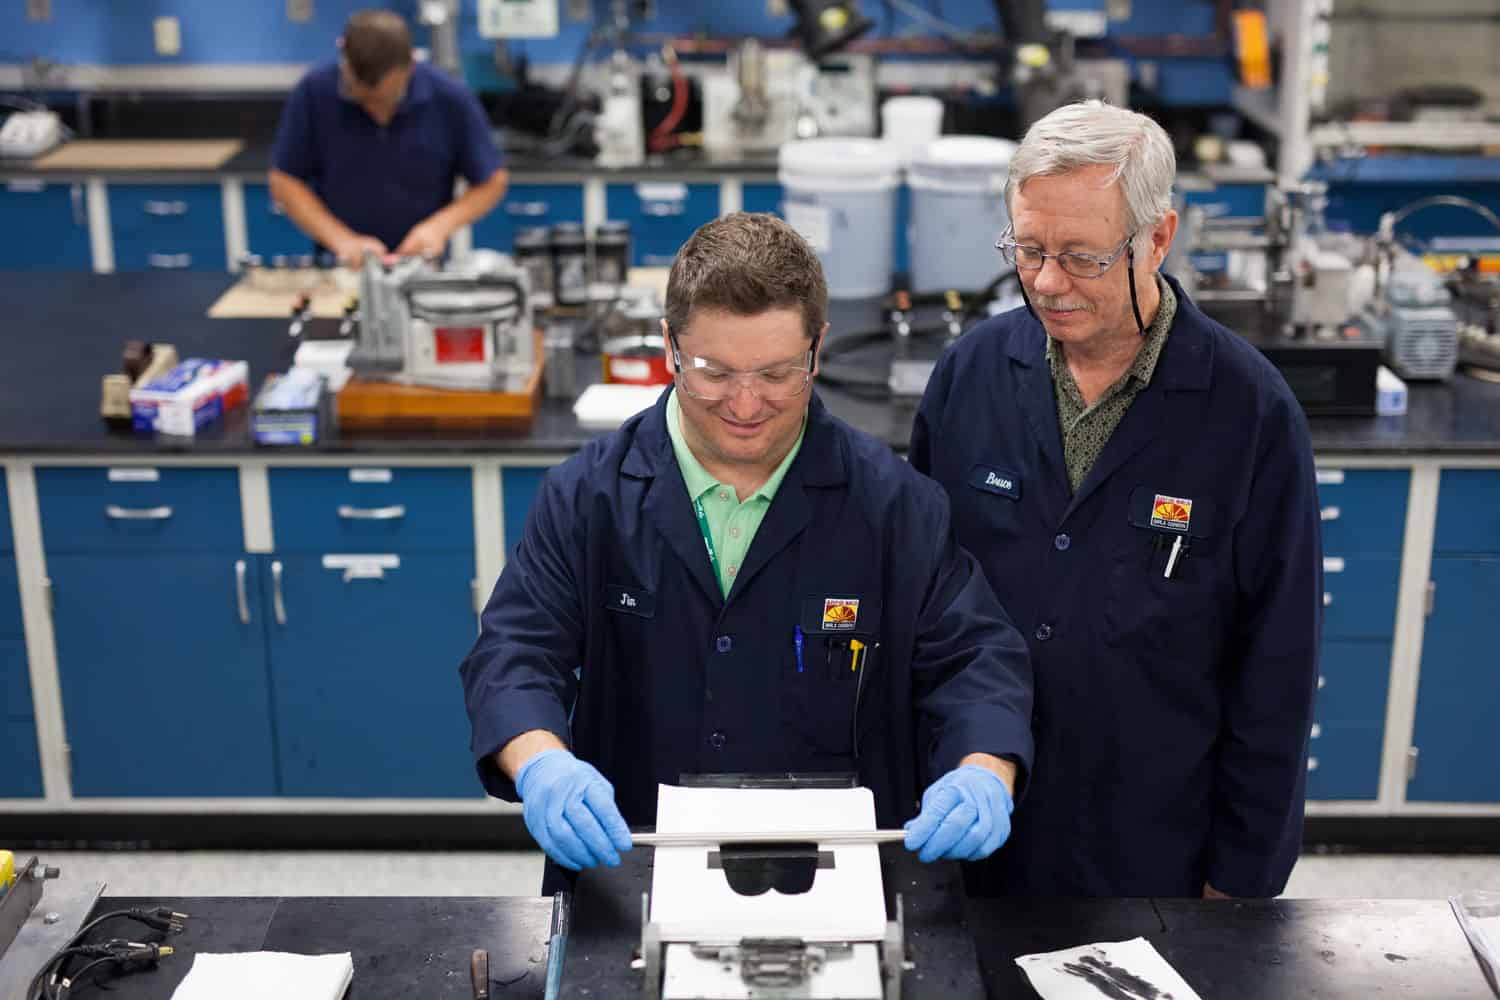
First of all, the sample preparation needs to be considered, as this is often a large source of variation in the perceived color. A coating needs to be drawn down or sprayed carefully in a repeatable manner and usually clear coated. A plastic chip needs to be produced with very good control over the pressing or injection molding conditions.
A laboratory spectrophotometer measures the intensity of light as a function of wavelength. The geometry of the measurement system can vary. Traditionally, direct measurement geometries such as 0/45 or 45/0 have been strongly preferred for blacks. The newer multi-angle direct systems work well for blacks as well. The advantage of these direct measurement systems is that they are much less affected by changes in gloss as compared to the spherical geometries routinely used for non-black color measurements. If a spherical geometry is to be used, it must have good specular traps and be run in Specular Excluded mode to get comparable results to a direct measurement. One regional note, in China it is typical to measure blacks with Specular Included, and the reflectance is much higher than elsewhere.
The light source has to be high quality, which with modern instrumentation is essentially a given, but the program does need to account for any drift in the intensity over time. In general, Birla Carbon has preferred Xenon flash instruments and these generally have a lifetime of over one million measurements. A standard verification tile usually is inadequate for checking reliable performance for blacks, and adopting some sort of second verification tile, of much lower reflectivity is a best practice.
The photometric resolution is probably the single biggest factor in getting good and useful data from a color instrument. Generally, a resolution of 0.01% is cheaper, but by far inferior compared to reading jet blacks to a 0.001% resolution. A modern automotive coating from any manufacturer is going to risk seeing quantization artefacts with a 0.01% detector, there is just so little light coming from the object. I have seen reflectance curves that look like squared wave functions as the reflectance swaps from just above the detection threshold to below it. This obviously means the data output is badly flawed.
In a future piece, I will discuss how we take this reflectance as a function of wavelength measurement and turn it into something more meaningful for comparisons and for tracking trends over time.

Dr. Richard Abbott
Dr. Richard Abbott has been with Birla Carbon for 20 years. He began his career at the European Central Lab (ECL) as an inks and coatings scientist before moving to the Marietta technical lab where he has spent the majority of his time furthering the liquid segments. He greatly enjoys the variety of work he is able to do and relishes the opportunity to tackle the next unique application or formulation.
WANT TO LEARN MORE ABOUT CARBON BLACK AND THE PROPERTIES THAT MAKE IT IDEAL FOR YOUR PLASTICS, COATINGS, AND INKS APPLICATIONS?


Can you comment on which is usually best for high jetness coatings: measuring a clear-coated drawdown or a wet film through glass?